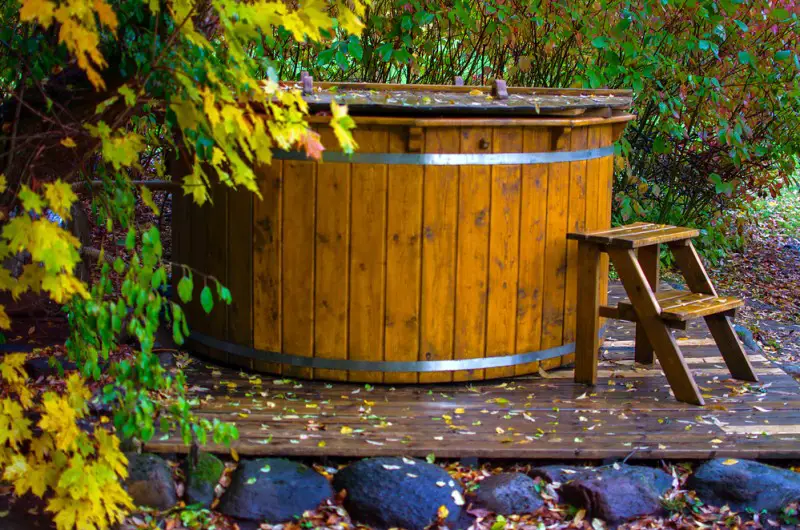
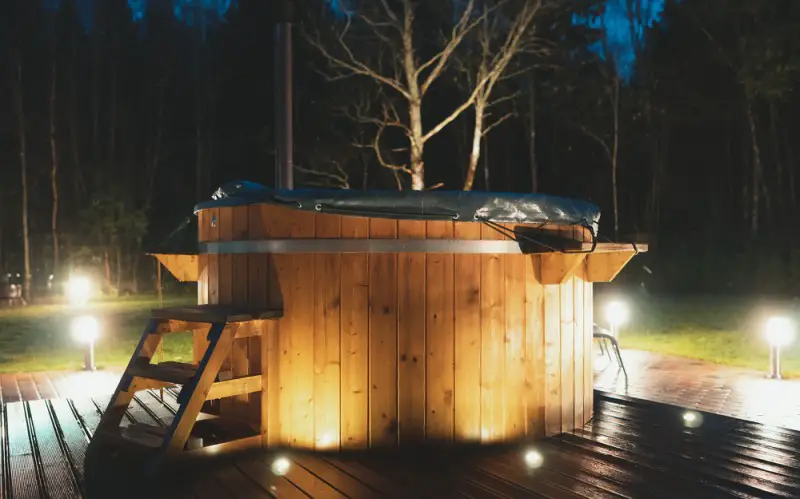
When you buy a hot tub, it should be no surprise that you don’t just pay for the tub itself, but you also need to invest in other hot tub accessories that will keep your spa running properly.
One of them is a hot tub cover. We like to say it is a hot tub necessity. It keeps foreign objects from entering your hot tub, and it could help the water warm faster. However, buying a good one is also a bit expensive.
This can be awful if you are tight on budget and can’t buy a new hot tub cover. Thankfully, there is a DIY hot tub cover that you can do at home to build your hot tub cover. You just need some materials and a few carpentry skills. Read this article until the end as you learn the easy steps to make your hot tub cover.
6 Easy Steps To Make Hot Tub Cover
Now, you don’t have to worry about spending huge cash on getting a spa cover because you can make a DIY hot tub cover.
The entire procedure is simple and can be more affordable than buying one. Make sure to follow through with every step to make the process safe and easy.
Step 1. Prepare The Materials
Ensure you have these materials ready before you proceed with the next steps.
- 2 to 2-inch thick, 4 x 8-foot polystyrene foam board
- Heavy-duty plastic will be used as the cover’s exterior.
- 2 to 4×8′ water-resistant plywood board
- Strong adhesive in a caulk tube
- Screws and continuous hinges
- Exterior wood paint
Step 2. Take Measurements For Your Spa Covers
Make a paper template by measuring the hot tub’s shell interior and outer measurements. Your homemade spa cover needs to be big enough to fit on the spa’s edge without putting you at risk of falling in if you simply bump into it or approach it incorrectly.
Alternatively, you can trim the foam a few inches smaller than the plywood if you believe you would achieve a better sealant by having it cut to suit the hot tub’s interior.
Step 3. Cut Materials
You might take your measurements once more as a precautionary measure before you begin cutting the materials. If your spa is square-shaped, you won’t need to cut much material. You will need to trim the foam boards and the plywood if it has round corners or any other shape. For the foam, you’ll need a sharp kitchen knife or hacksaw and a jigsaw for the plywood.
Laying the two pieces on top after cutting them will smooth the edges. To extend the lifespan of the waterproof plywood planks, it is advisable to paint them. The cover will become wet over time because it is above the water. The longevity of the plywood depends on how well it is shielded.
Step 4. Give The Foam A Heavy Plastic Wrap
Even though you won’t have the vacuum-sealed, heat-bonded seams seen on the best spa cover, it’s still crucial to take the time to wrap the foam as securely as you can to prevent moisture from the hot tubs from coming in contact with the foam board.
With a lengthy roll of packing tape, wrap the item from top to bottom like a gift box, folding the corners and taping them firmly.
Step 5. Put Glue On The Foam And Wood Boards.
Use the sticky nails to execute this. Brush the glue directly to the wood, and coat the edges. This should be firmly placed on the foam board. Make sure the surface is flat as well. To increase stickiness, you can also put heavy items on the board.
Step 6. Install The Hinges And Paint The Wood
The last step is to smooth the sides to remove sharp edges and rough places. After that, paint the upper portion of the board with exterior paint. After the paint has dried, hinges can be installed.
To ensure the cover is securely fastened to the hot tub’s rim, utilize as many connectors or brown duct tape as possible. You need to check for temperature change at this point simply. A cover lift may also be something you want to include in your design.
Important Benefits Of Having A Hot Tub Cover

Let us look at the important benefits you can gain as a hot tub owner when having a hot tub cover. If you need the motivation to start working, then perhaps this is what you need.
Cleanliness
This is the typical reason for buying or making a hot tub cover. You need a hot tub cover to block the trash and other objects. Additionally, this will help you spend less time cleaning the hot tub. So be sure to get your hot tub covered.
Saves Energy Costs
A hot tub cover is something to consider if you want to reduce your electrical costs. The cover will stop the hot tub from losing heat and aid in heat retention. This can significantly reduce your electricity usage, especially during the year’s colder months.
Avoid Drowning
A DIY spa cover is also recommended for safety reasons. The safest and simplest way to keep kids, unwanted pets, and animals out of your outdoor spa is with a hot tub cover.
Essential Features Of Hot Tub Covers That You Should Know
You should know the key characteristics of hot tub covers, whether you purchase one or do a DIY hot tub cover, so that you know what to watch out for and what level of quality to anticipate.
These are the primary characteristics of a typical and DIY spa cover:
- Good Foam Cores. Hot tub foam cores are often comprised of polystyrene or EPS, a sealed foam that is tangible and hard. Minimizing water absorption is crucial for the base material, which should also last longer. It can become very heavy and challenging to manage if it absorbs water. Mold may also be drawn to it.
- Sturdy Vinyl Exterior. Its vinyl exterior shields the spa cover from the outdoors. The marine-grade vinyl covering is the most UV-resistant, resilient, and mold-resistant. Additionally thick and resistant to splitting and breaking. Additionally, hot tub coverings are typically treated with chlorine protective sprays to provide the most protection possible.
- Extra Strong Handles. You wouldn’t want handles to come off while opening the cover because they are easily prone to doing so. Some handles feature triple stitching to make this cover lifter strong and long-lasting.
- Underline Mesh. The liner is crucial since it is exposed to steam more frequently than the vinyl component. Because they tend to collect more condensation, some spa covers have solid liners for the most part. A mesh underliner also experiences the condensation process, slows the development of germs and other microbes on the cover.
Frequently Asked Questions
Here are some questions to guide you in making your spa cover.
What Materials Are Hot Tub Covers Made Of?
A spa cover comprises solid foam cores wrapped in marine vinyl coverings and sealed in plastic cases to prevent water absorption. They are often designed to fold at a hinge point to facilitate removal, and their height is tapered from the center to the exterior border to facilitate the removal of water and snowfall.
Can I Cover My Hot Tubs With A Tarp?
It is detrimental to your own spa cover to lay it with plastic wrap or a tarp. It has the potential to become soggy considerably more quickly and can trap heat and amplify solar radiation. Your cover’s cores might melt as a result of that.
How Thick Should Spa Covers Be?
You can buy spa covers with a taper that ranges from 3 to 2 inches to 6 to 4 inches. A conventional cover thickness of 4″ to 2″ taper should be adequate in most cases.
What Material Is Inside A Hot Tub Cover?
A spa cover has a polystyrene core that might break if handled forcefully. It’s crucial to prevent children from jumping on the cover or to permit too much snow to gather on top of it.
How Long Should A Hot Tub Cover Last?
A spa cover should typically be changed every 5-7 years. Even though certain covers are made to last longer than others, any DIY hot tub cover exposed to the outdoors will eventually show signs of wear. It could be more difficult than you think to determine when to update your cover.
Conclusion

As a hot tub owner, having your own spa cover is essential to help your hot tub last longer. If you don’t have the budget to purchase a new spa cover, you can simply do a DIY hot tub cover and follow the easy steps above to start making one for yourself. Be sure to follow through with the steps and consider your safety while handling the materials. After that, you should be done and ready to enjoy another relaxing bath.

